Why Interior Paint Peels and Bubbles on Walls (Even Ones You Just Painted)
How Professionals Approach the Same Job
Getting the Wall Ready for Paint After Removal
On service calls we walk the wall surface first, check for hollow spots in the plaster, identify layer count by peeling back a corner, and test the substrate response to a small amount of water in an inconspicuous area. That 10 minute evaluation changes the entire approach.
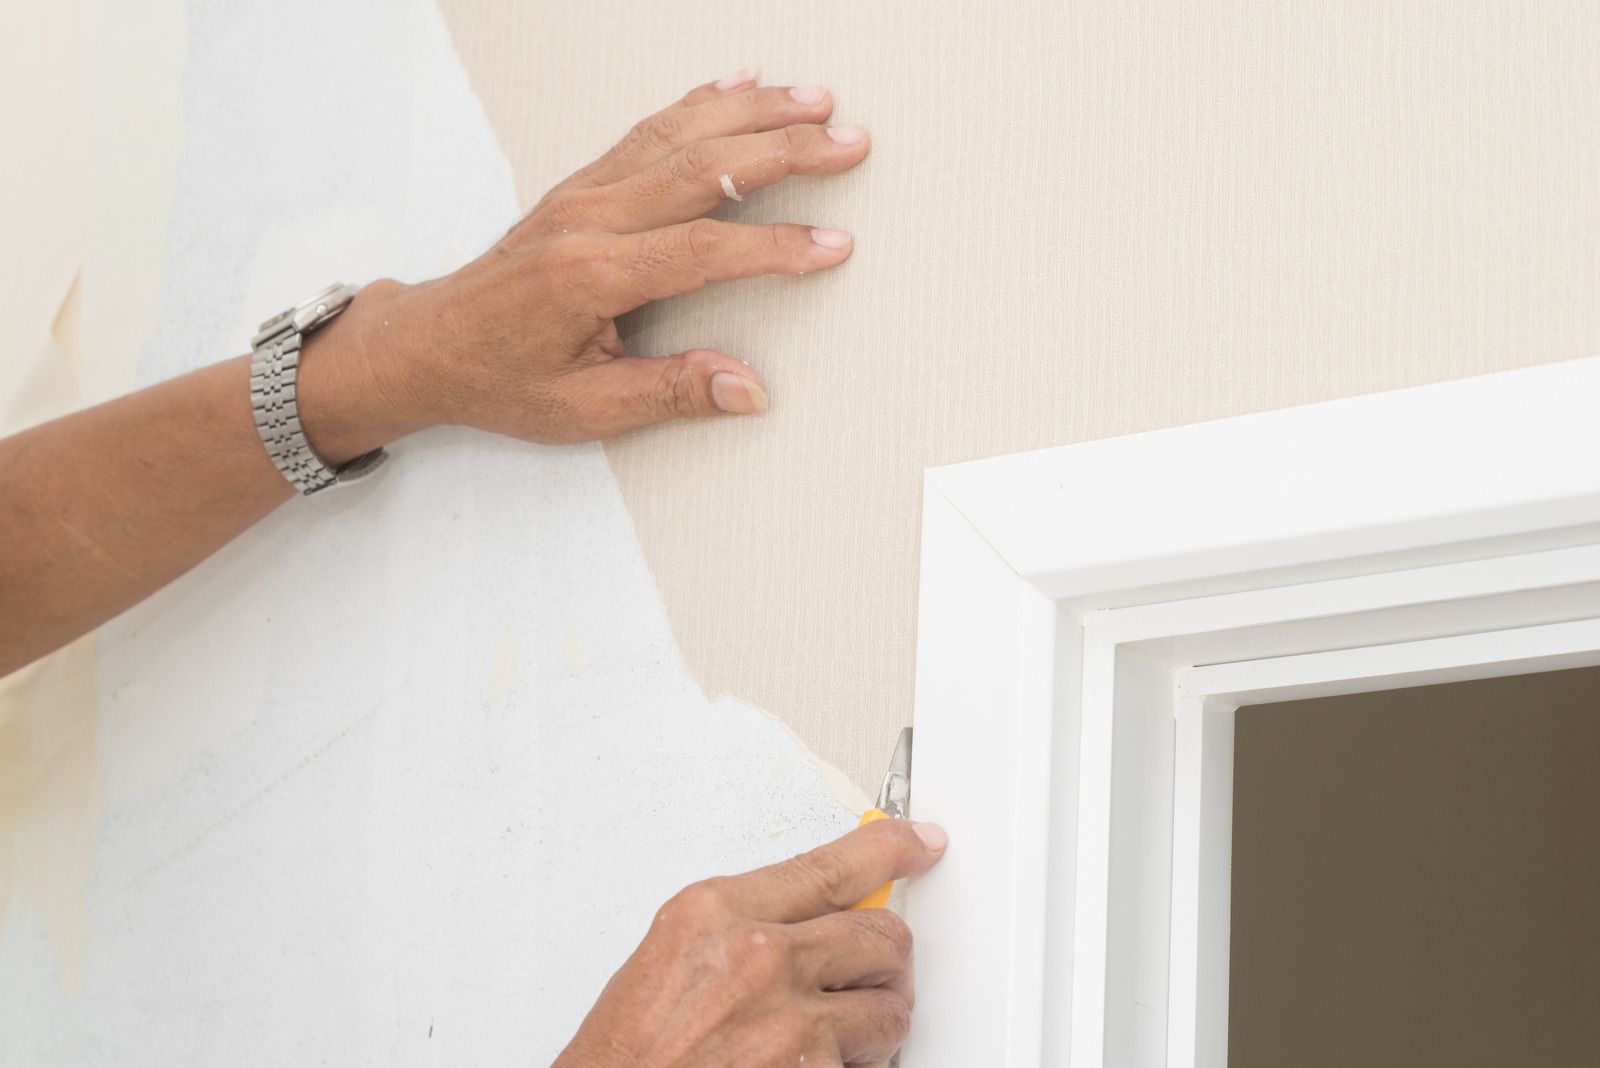
A wall with loose plaster behind vinyl wallpaper gets treated completely differently than a well primed drywall surface with single layer paper. We use commercial grade steamers for stubborn installations and enzyme based stripping solutions for vinyl adhesive that does not release with moisture alone. After stripping, walls are cleaned of adhesive residue, dried fully, repaired at the substrate level, and primed with the correct product before any paint is applied. Skipping any of those steps is what causes the adhesive ghosting and sheen inconsistency we frequently see on DIY removal projects.
Removal is only the beginning. A wall that has been stripped is not a wall that is ready to paint.
After stripping, the wall surface should be washed down with a clean sponge and warm water to remove all adhesive residue. Adhesive left behind causes paint to fish-eye, peel, and absorb unevenly. Allow the wall to dry for a full 24 hours minimum before any repairs are made.
Repairs should use setting type joint compound for deeper damage and lightweight compound for skim coating and smoothing. Sand with 120 grit before priming, not after.
Primer selection is the most commonly skipped step in DIY preparation. An oil based primer seals the repaired areas, locks down any remaining adhesive residue, and prevents the drywall face paper from raising when the finish coat is applied. This step is not optional. A latex paint applied over an unprimed stripped wall will almost always show adhesive ghosting, uneven sheen, and premature peeling within one to two seasons.
Check walls in high humidity rooms every few months for paint lifting or adhesive bleed-through. Before any painting project in an older home, confirm whether wallpaper was previously installed and factor removal and prep time into your timeline.
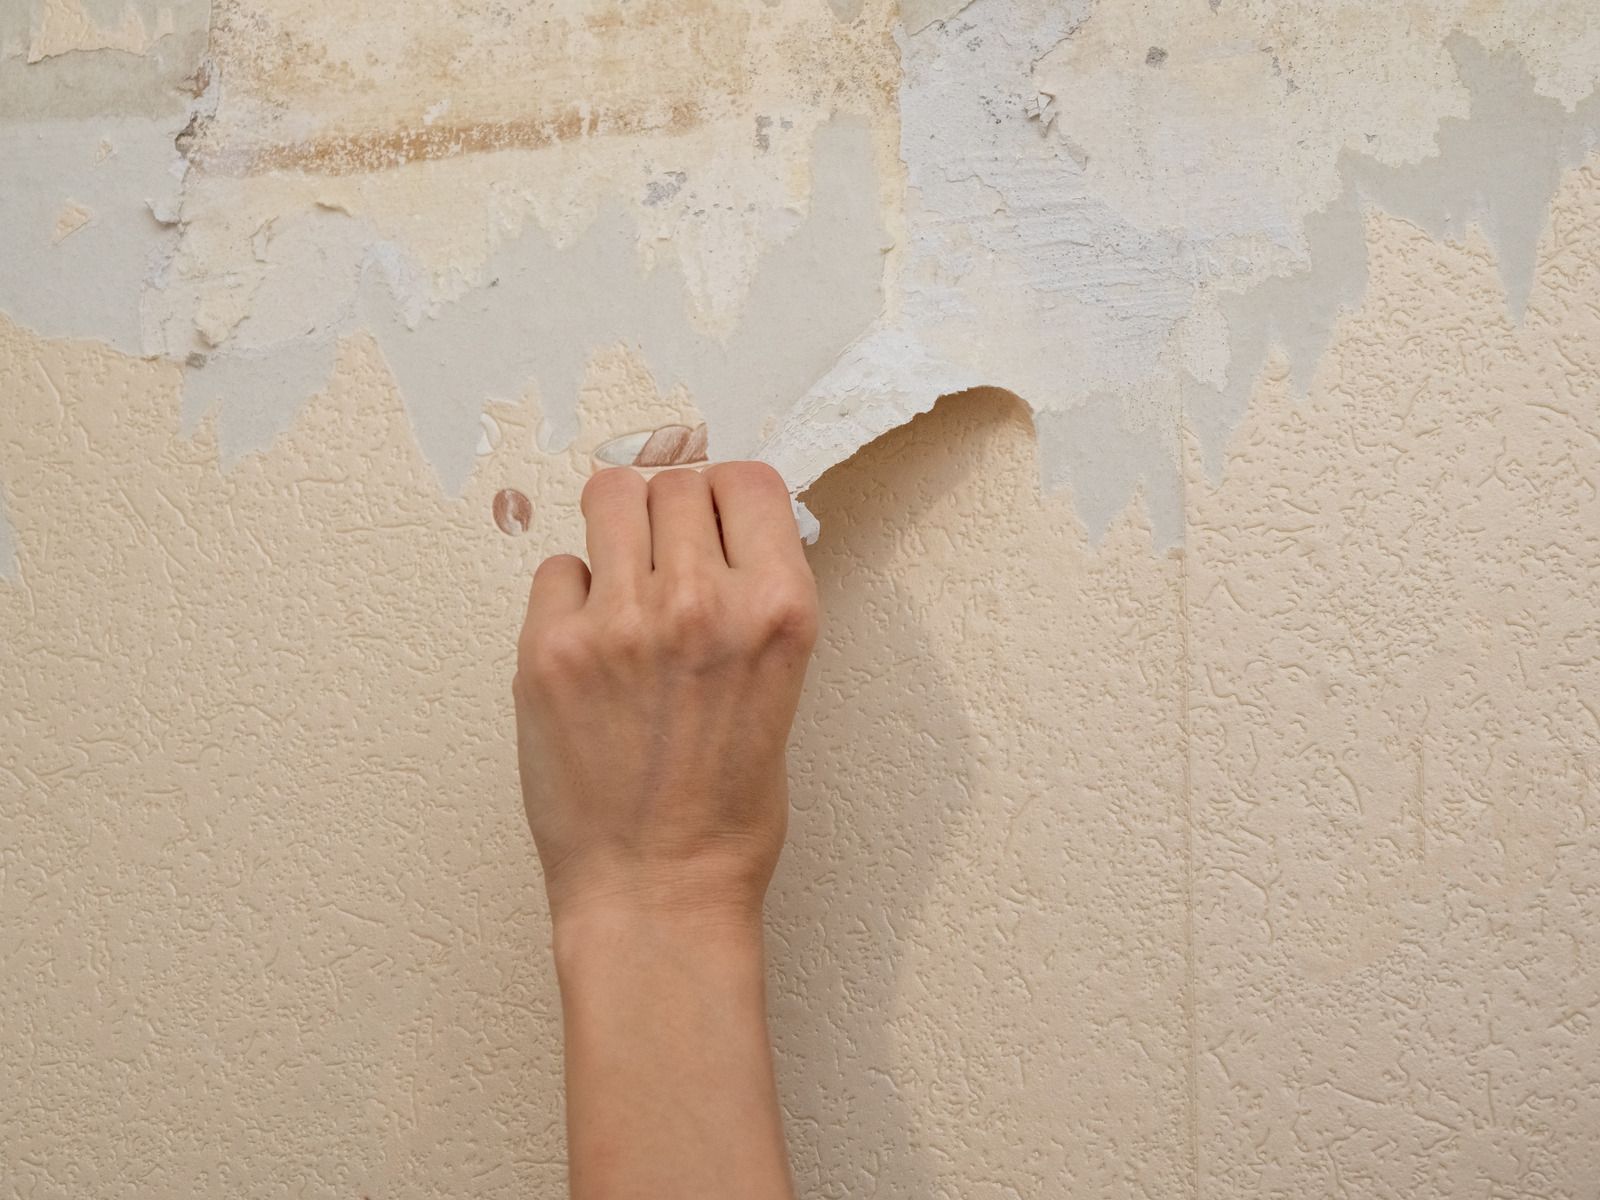
TIP: Before you wet a single section of wall, score a small inconspicuous area and try dry stripping. If the paper peels in full sheets without tearing the surface, you have a good installation to work with. If it shreds and takes the wall surface with it, stop and assess the entire wall before proceeding with moisture.
What Makes Wallpaper Removal Harder Than It Looks
WARNING: If you are working with walls that have plaster over wood lath, soaking the wall with a steamer can cause the plaster to separate from the lath keys. This is a structural integrity issue, not a cosmetic one. A wall in that condition can fail in sections. If you feel the plaster flex or hear a hollow sound when you knock on it, stop and get a professional assessment before continuing.
QUICK ANSWER: Peeling and bubbling paint almost always comes down to one thing: the paint lost its grip on the surface underneath. Moisture trapped behind the film, a wall that wasn't clean or dry when it got painted, skipped primer, or mixing incompatible paint types are the four most common culprits. Bubbles that appear within days usually point to trapped moisture or heat during application. Peeling that shows up months or years later usually points to a slow moisture leak or a surface that was never properly prepped. Fix the underlying cause first — scraping and repainting over it without doing that just buys you a few more months before it happens again.
You run your hand along the wall and feel it before you see it — a soft, raised patch where the paint has separated from the surface like a blister on a heel. Or maybe you notice curling flakes near the ceiling line, or a section by the window that looks like it's shedding its skin. Either way, something underneath that paint job went wrong, and it wasn't the color choice.
Paint is a thin film sitting on top of a wall, held there by adhesion between the paint and whatever's beneath it — drywall, plaster, old paint, joint compound. When that bond breaks, the paint has nowhere to go but up and out. Bubbling is the early stage: air or moisture gets trapped under the film and pushes it into a dome. Peeling is what happens next, once that dome dries out, loses its stretch, and cracks open at the edges.
What Peeling and Bubbling Paint Is Actually Telling You
Bubbling and peeling aren't the same failure, even though they often get lumped together. A bubble is paint lifting off the surface while it's still intact — press on it and you'll feel a hollow give, like tapping an air pocket in bread. Peeling is paint that's already lost its bond and started curling or flaking away in sheets or chips. One is often an early warning of the other.
The timing tells you a lot. Bubbles that show up while the paint is still wet, or within a day or two of finishing, almost always trace back to what happened during application — a hot room, a damp wall, paint applied too thick. Peeling that shows up months or years down the line is a different animal. That's usually a slower process: moisture working its way through a wall from the outside in, or a bond that was weak from day one and finally gave up under normal wear. A bathroom wall that starts flaking two winters after painting isn't reacting to anything you did last week. It's reacting to something that's been happening behind the surface the whole time.
The Moisture Behind Most Bubbling
Moisture is the single biggest cause of paint losing its grip, and it works two different ways. The first is moisture trapped in the wall before you ever picked up a brush — a plumbing leak, roof seepage, or a slab that hasn't fully cured. Paint that goes over a damp surface never bonds the way it should, because water molecules sit between the paint film and the wall instead of letting the two surfaces lock together.
The second way is moisture arriving after the paint has already dried. Steam from a shower, condensation on a cold exterior wall, or a kitchen that runs humid every time dinner's on the stove can all push moisture through paint that hasn't had enough time to cure fully. Latex paint needs real drying time before it can handle that kind of exposure — expose it too soon and the film can lift right back off. This is why bathroom and kitchen paint jobs fail more often near tubs, sinks, and stove backsplashes than anywhere else in the house. It's not bad luck. It's water vapor doing exactly what water vapor does.
Vents matter here more than most people think. A bathroom exhaust fan that vents into the attic instead of outside, or one that never gets switched on, keeps humidity circulating against the walls long after the shower's off. Same with a kitchen range hood that just recirculates air instead of pushing it outside. If a room stays damp for an hour after you've finished in it, the paint on those walls is working overtime.
When the Problem Started Before You Ever Picked Up a Roller
A lot of paint failures get blamed on the paint itself when the real issue happened before the can was even opened. Dust, grease, and old wall soap film all sit on a surface without you noticing them — they're not visibly dirty, they just coat the wall enough to keep paint from grabbing hold. Kitchen walls near the stove are notorious for this. Cooking oil settles on surfaces in a thin, invisible layer, and paint applied over it sits on top of that film instead of bonding to the wall.
Skipping primer is the other big one. Primer isn't just there to help color show true — it seals porous surfaces, blocks stains from bleeding through, and gives the topcoat something consistent to bond to. Bare drywall, fresh joint compound, and glossy old paint are all surfaces that need a primer coat first. Paint straight on new patching compound, and you're asking a topcoat to bond to a surface that's still soaking up moisture unevenly. That patch is often the exact spot where peeling shows up first, months later, in a neat little outline that traces right along the repair.
TIP: Before starting any interior repaint, run your palm flat across the wall in a few different spots — near the stove, by light switches, along baseboards. If it feels slick, tacky, or leaves a faint residue on your hand, that's a cleaning problem waiting to become an adhesion failure. A wash with a mild degreasing cleaner and a full dry-out beats fighting bubbles six months from now.
Mixing Paint Types and Skipping Primer Between Coats
Not every paint plays well with what's already on the wall. Oil-based paint applied directly over old latex, or vice versa, without the right primer between them is a common cause of bubbling that shows up weeks after the job looks finished. The two paint chemistries expand, contract, and cure differently, and when they're stacked without a bonding primer between them, the top layer eventually separates from the one below it.
This comes up more than people expect in older homes, where a wall might have three or four different paint generations layered on top of each other going back decades. Somewhere in that stack could be an oil-based enamel from an older renovation, painted over more recently with modern latex. Scraping back a peeling patch on a wall like that often reveals exactly where the incompatible layers meet — a clean separation line between two paint types that never should have touched without primer in between.
Rolling technique plays a smaller but real role too. A roller loaded too heavily, or one with the wrong nap for the surface, can trap air bubbles in the wet film. Those bubbles usually pop and self-level before the paint sets, but on a humid day, or with a paint that's drying fast, they can get locked in place instead.
Heat, Humidity, and Older Plaster Walls
Temperature during application matters more than most DIY painters realize. Paint dries from the outside in — the surface skins over first, sealing whatever's underneath. Paint a wall on a hot day, or run the heat too high while it's drying, and that surface can skin over before the moisture and solvents underneath have finished evaporating. That trapped vapor pushes up against the fresh film and forms exactly the kind of dome you'd see if you sealed a wet sponge under plastic wrap.
Older homes around New Windsor and the rest of the Hudson Valley carry a specific version of this problem: plaster walls. Plaster is more porous than drywall and holds onto ambient humidity differently, expanding and contracting more with the seasons. A house built decades ago, with plaster over old wood lath, can shift enough between a damp summer and a dry, forced-air winter that paint bonded during one season starts working loose in another. That's not a defect in the paint. It's the wall itself moving underneath it.
WARNING: Never paint over a bubble or a soft, curling patch just to make it disappear for now. Trapping moisture or a failed bond under a fresh coat doesn't fix anything — it hides the problem for a few weeks and then it reappears, usually bigger, and now you're scraping through two layers instead of one. If a wall is actively damp to the touch, painting over it can also encourage mold growth underneath the new film, which won't show up until it's already spread.
What to Do Once You See Bubbles or Flakes
The fix depends on how deep the failure goes. If bubbles haven't cracked open yet, scrape them back to solid, well-bonded paint, sand the edges smooth so there's no visible ridge, and prime the bare spot before repainting. Skipping that primer step on a repair is exactly how the same patch fails again a year later. If the peeling has already exposed bare drywall or plaster, that surface needs to dry out completely before anything touches it — painting over damp drywall just restarts the whole cycle.
Chasing the moisture source matters as much as the scraping. A peeling patch near a window might trace back to a failed seal letting in condensation. One near the ceiling in a bathroom often points to inadequate venting. One low on a wall, especially in a basement or a room over a crawlspace, deserves a look for groundwater or plumbing seepage before anyone repaints. Painting over a moisture source without addressing it is the single most common reason people end up redoing the same wall two or three times.
Every room in a house behaves a little differently, and the walls that fail first are almost always the ones doing the most work — steam, grease, direct sun through a window, or a shared wall with an unheated space. Pay attention to where the problems keep showing up. That pattern is usually more useful than anything printed on the paint can.
Frequently Asked Questions
Is bubbling paint always caused by moisture?
Not always. Heat during application, poor surface preparation, trapped air, and incompatible paint layers can also cause bubbling. Timing helps identify the cause, with immediate bubbling often pointing to application conditions.
Can I just sand bubbling paint and repaint over it?
You can, but the problem may return quickly. Sanding and repainting without addressing moisture or adhesion issues only hides the underlying failure and can lead to more extensive peeling later.
Why does my bathroom keep peeling even though I use the exhaust fan?
Check where the fan vents and how long it runs. If moist air enters the attic or wall cavity instead of outdoors, humidity remains trapped and can continue damaging the paint.
Does the type of paint affect bubbling?
Yes. Latex paint generally handles interior moisture and temperature changes well, making it suitable for kitchens and bathrooms. However, even quality paint can bubble when applied over damp, dirty, or poorly prepared surfaces.
How can I tell if peeling paint means a bigger problem?
Look at where the peeling occurs. Small isolated areas may indicate poor preparation, while widespread peeling near floors, ceilings, corners, or exterior walls can suggest leaks, condensation, or other moisture problems.
Understanding the Cause Helps Paint Last
Peeling and bubbling paint is rarely just a cosmetic issue. The visible damage is often a sign that moisture, poor preparation, incompatible coatings, or changing wall conditions have weakened the paint’s bond. Identifying where and when the problem started makes it much easier to choose the right repair and prevent the same failure from spreading or returning.
With 30
years of experience, Jerry's Refinishing
understands how interior walls respond to humidity, seasonal changes, and everyday use in New Windsor, NY. Proper surface preparation, careful repairs, and the right coating system can restore a smooth, durable finish while addressing the conditions that caused the paint to fail in the first place.